
Calibration Mode
To enter the calibration press and hold the “CLR” button and turn the unit on. It will display Cal 1 and the type of weighing and channel selected, which in this case is channel one and dynamic weighing is selected. If you wish to weigh in static weighing mode, press and hold the “CLR” button and push the middle button to change modes. Typically you would want to calibrate the Weighlog 200 skid steer scale in dynamic mode, since speed compensation will be used for all subsequent channels.
Manual and Auto Modes
For the next step, press the “CLR” button. The screen will now display the “Manual” mode, hold “CLR” and press the middle button to change to Auto mode. The difference between these refers to pressing the remote enter button each time you lift to add the load, where as Auto mode will add each bucket automatically. In this example we leave the scale in Manual mode.
Calibration Factor
Press “CLR” again to move to the calibration factor of the scale calibration. The screen will briefly display “CALF” before moving onto showing 1.000. This is the calibration factor that makes the Weighlog 200 read the proper amount of weight. In most cases leaving this number at 1.000 is acceptable and the wheel loader scale will calibrate if you leave this number as is.
Changing the Calibration Factor Number
To change the calibration factor number, you can press and hold the “CLR” button and press the middle button to cycle between digits. To change any particular digit, immediately press back down on the middle button to begin cycling through numbers on that digit.
Full Bucket Fast and Slow Lift
Press “CRL” once again to move on to the fast load step. For this step, fill your bucket with material and do a fast lift (at a high RPM). When done, the display will display a frequency number. Next press “CLR” again to move on to the slow lift. Repeat as before only at a lower RPM. A frequency number will display once again, at which point you may press the “CLR” button to move on.
Empty Bucket Fast and Slow Lift
As in the previous steps, the scale will ask you to preform a series of fast and slow lifts, only this time with the bucket empty. Note that the frequency number that’s displayed on the scale screen is much less than with a full bucket. Once both steps are complete press the “CLR” button to move to Zero lift.
Zero Lift
With the bucket still empty, lift the bucket at what the operator considers a normal RPM. A frequency number will display, press the “CLR” button to move to the next setup step.
Load with Known Weight
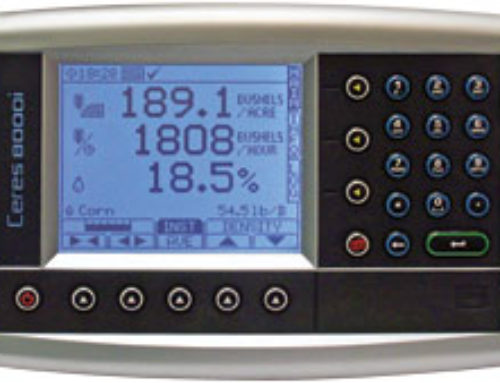
In this example the Weighlog 200 is set to read in tons. The screen displaying 1.000 is anticipating that you will be putting a known weight of 1 ton in the bucket. If it is not 1 ton, use the steps as described above to change the number to the appropriate weight. Press the “CLR” button to perform a regular lift. As before a frequency number will display, press the “CLR” button and the scale should say “Cal Done“.
Check for Repeatability
To make sure the calibration settings have been set correctly, it is recommended that you lift the same known weight for repeatability. Turn off the system and turn it back on without any buttons pushed, lift the same weight again and it should read the same weight as what you entered. This would confirm and complete your calibration.
Nudging the Scale
If for example the scale read the weight slightly off from what you entered during calibration, you would perform a nudge of the scale. To do this, press the “REF” key on the left while the bucket is in the air. All the icons around the outside of the screen should light up. While still holding the “REF” key, push the “PRINT” key to increase the weight to the correct amount. The “ZERO” key would lower the weight. Once the weight has been adjusted to the correct weight, the unit will be updated. Once the load is lifted again, the correct weight should now be shown in the scale.
