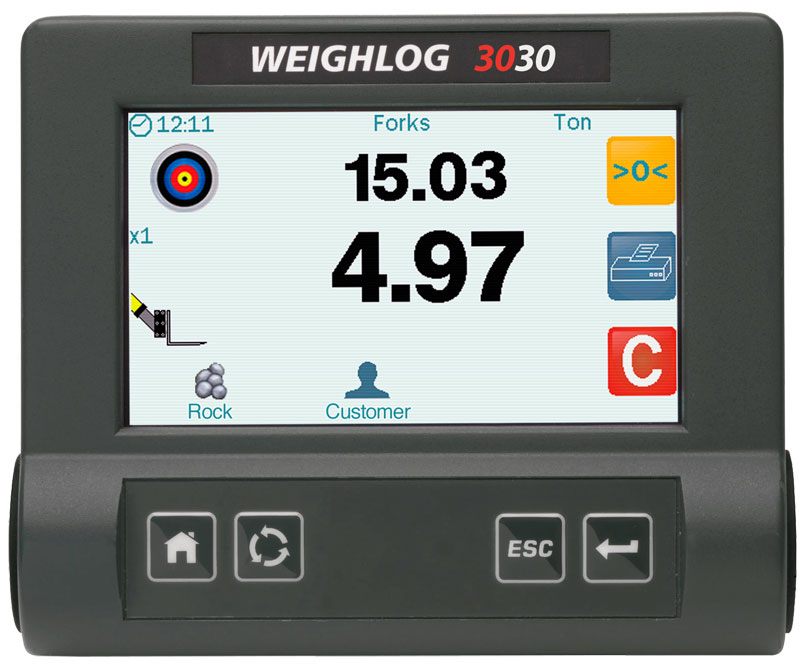
This video outlines the initial setup procedure for the Weighlog 3030. Once the unit is powered, press the Menu key and select Factory Settings. Enter the 4084 password and Enter to continue. A Full Setup is available from the top of the menu along with each individual setup below. Press the Full Setup button and begin the full process of setting up sensors and other features.
It will begin by asking if you would like to load from USB, in this particular example we do not, so select No. From here the 3030 will ask which language you wish to use. Select English and continue. Next it will ask what unit of weight you want to use. Options like Kg, Ton, lb and others are available. For this example we will choose Ton and continue.
Main Functions
Next is the Main Functions screen. Here we will configure which features are displayed and active on the Weighlog 3030 screen. From here you can enable/disable features such as Target Load, Bucket Count, Customers, Products and other options. To enable or disable a particular item, simply double tap on an item and select the Checkmark or X icon from the list and hit enter.
Logging Options
For this screen you can select which logging options you wish to enable. If you have a printer, you can select and enable that. Same goes for using an SD card or USB memory for logging data. Double tap on the screen to select an option and then enable or disable that feature. In this example we are not using any external device.
Sensor Setup
In the Sensor Setup screen, it asks you the type of sensors you will be using. In this example we are using the Reference & Direction sensor, so the option “R&D” is correct.
P1
Next is the pressure sensor type. By default “P1” will be selected. The P1 sensor indicates a configuration when being run on a simulator as in this example. P1 indicates that only one pressure sensor is being used and that sensor is located in the lift cylinder pressure line.
P1 + P2
This configuration indicates that one pressure sensor is in the lift cylinder pressure line as well as one in the return line.
P1 + C1 + C2
This configuration is for telehandlers. Sensors are placed in the compensation cylinder, lift cylinder pressure line and return line.
P1 + P2 + C1 + C2
Another configuration for telehandlers. Sensors are placed in the compensation cylinder, lift cylinder pressure line and return line.
Configure Attachments
This screen covers the different types of attachments you want to manage. In this example we have a Bucket weighing in Dynamic Mode, Forks, Grabber, Muck Grab and other attachment options. A total of 10 different attachments are available to choose from. You may edit the names of each attachment should you need to, as well as if they weigh in dynamic or static mode.
Enable Auto Add
The Enable Auto Add screen is fairly straight forward. This option enables the automatic adding of loads to the scale. To enable/disable this feature select either the Check or X buttons on the screen. By disabling Auto Add, you would be required to use the remote enter switch each time you want to add a load.
Overload
The overload is an alarm set for a percentage of the load. In some situation this may be a useful function, but typically this feature is not needed in the area of loading trucks.
Other Options
The last steps include setting the Brightness, Volume, Instrument ID and Time settings of the console. Once done with the setup it will ask you to restart the scale. Hit Enter to restart the Weighlog 3030 and proceed to the Calibration process.
