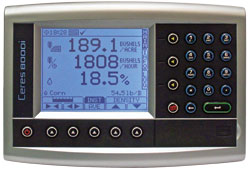
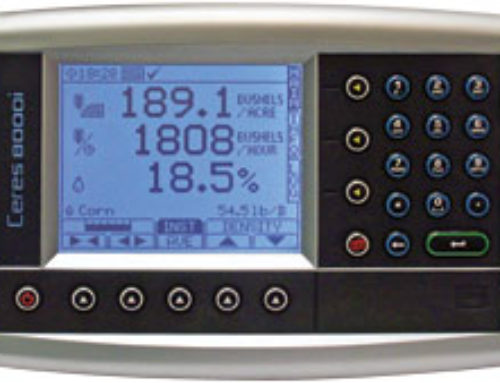
Initial Setup
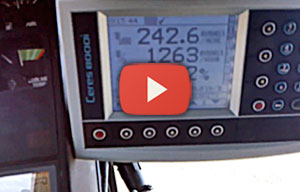
This demonstration shows the initial setup steps to take once the 8000i Yield Monitor has been installed on your combine.
Once the console is powered on select the red pages button to enter the Setup Menu. From here select #3 for Factor or scroll down until the Factory option is highlighted and push the green enter button. The monitor will ask for a Pin Number to proceed, enter a number of 1234 and push the green enter button again to enter the Factory Setup mode.
Factory Setup
The primary setting that needs to be configured is the Combine Selection. Select #1 by pressing “1” on the keypad or the green enter button while highlighted. On this screen you scroll between different combine types by using the left and right arrows along the bottom right of the screen. Scroll to your combine type in this list and press the green enter button to confirm. If your combine is not in this list, select “Default Combine Type” and press Enter to confirm. Once the combine is selected, no other settings need to be address in the Factory Menu, press the ESC key to return to the main Setup Menu.
Technician Menu
PC Line Points
The first menu option “PC Line Points” is only to be used if your combine was not in the default list of combines. If you selected “Default Combine Type” in the previous menu and you find the accuracy needs to be adjusted for your combine, you will want to enter this menu and run the “Auto Cal” option in the lower right corner of the screen. Please refer to your manual for details on how to complete this process or call Loup Electronics for assistance.
Moisture Sensor
Back in the Technician Menu, select #2 for the Moisture Sensor. On this screen the focus is the Gain and Offset numbers. At the bottom of the screen is the current crop these numbers are assigned to. The supplementary instructions with your kit will have an outline for the Gain and Offset numbers for each crop that need to be in the monitor. If any of these numbers are not correct, simply type in the correct number and press Enter. Use the “A-F” button the change which crop is currently selected.
Angle Sensor
In the Technician Menu, select #3 to enter the Angle Sensor configuration process. Before setting this option, make sure the combine is on fairly level ground to ensure an accurate configuration. To begin, press the Down Arrow key until the curser is next to “V LH/RH”. With the arrow in front of this option, select the “Set Zero” button in the lower right corner. This sets the left and right hand angle sensor to zero. Press the down arrow key and repeat the same process for “V FW/RW”, resetting the angle sensor for the forward and rearward tilt sensor. This completes this step.
Temperature Sensor
From the Technician Menu select #4 to go into the temperature sensor menu. Check the readouts on this page to make sure the temperature sensor is reading correctly. All temperature readings are in degrees celsius.
GPS/PF Setup
In the GPS/Precision Farming setup menu, the only thing that needs to be verified is the NMEA setting. Verify that the setting is set to “NMEA @ 4800”, this sets the baud rate for the GPS to 4800. If you are using your own GPS receiver make sure you know the baud rate of that receiver and set the baud rate to the appropriate number here for proper communication.
This completes all settings that need to be set within the Technician Menu.
Operator Menu
Units
Under this menu, ensure that the correct unit (bushels) is being used for measurement. If not simply scroll down and press the Enter button on the correct unit and press the ESC key to go back.
Header Setup
Back in the Operator Menu, select option #2 for Header Setup. Here you will see “Default” be displayed, showing the default header setup option. Header widths are stored individually per crop, however changing the header width of “Default” will change the header width of every crop. If you have a 25ft platform, type in 300in for the width and set the number of sections you want to use for that header.
The Width Reset option can be switched to “ON”, this resets the header width to full when you raise and lower the header back down on turns. The remaining options are only applicable if you are using an existing header sensor on the combine itself. If this applies to you please call Loup Electronics for help on these settings.
You may now scroll down and push the Enter button on the “Set All To Default”, this applies the header information you just entered to every crop in the monitor. To now change a crops header info, such as corn, scroll up until the Default is selected and use the left and right arrows to scroll between the crops. Once corn is shown, scroll down and enter the correct header information for this crop. For example a 6 row 30 inch corn head would need to be set to a width of 180 inches and 6 sections, one for each row.
Speed Factor
Back in the Operator Menu, the next line item to look at is Speed Factor. In this menu you will see “GPS Speed On/Off”. If you are using a GPS receiver as your speed input, use the right arrow button to change this option to “ON”. The rest of the screen options will change to being unselectable. If you are using a wheel sensor as your speed input, leave the GPS Speed set to “OFF”.
Clock Set
Under the “More” option you will see a second page of items including Clock Set. Use this page to set the internal clock of the monitor. You can change it to using either 24hr/military time or regular 12 hr time.
Display
Use this screen for setting the brightness and contrast of the monitor.
Yield Delay
This setting is for the time delay it takes the grain to reach the tank of the combine. Typically you will take 2 seconds off that time and put that number into this Yield Delay setting. Most combines range between 8 and 12 seconds.
This concludes the initial setup of the Loup 8000i Yield monitor. If you have any questions or need help please contact us at info@loupelectronics.com or call 1-877-489-5687.
